How to Create a Flowchart Online
Flowcharts remain one of the most effective ways to communicate processes, decisions, and workflows. Here's how to create them efficiently using browser-based tools — no desktop software required.
Why Flowcharts Still Matter
In a world of Slack threads, Notion docs, and Jira tickets, flowcharts might seem old-school. They're not. As a solution architect, I use flowcharts daily — for API request flows, deployment pipelines, incident response procedures, and user journey mapping.
The reason is simple: a flowchart compresses complex logic into a visual format that anyone can follow. A 500-word process document becomes a 10-shape diagram. Junior engineers understand it. Product managers reference it. QA tests against it.
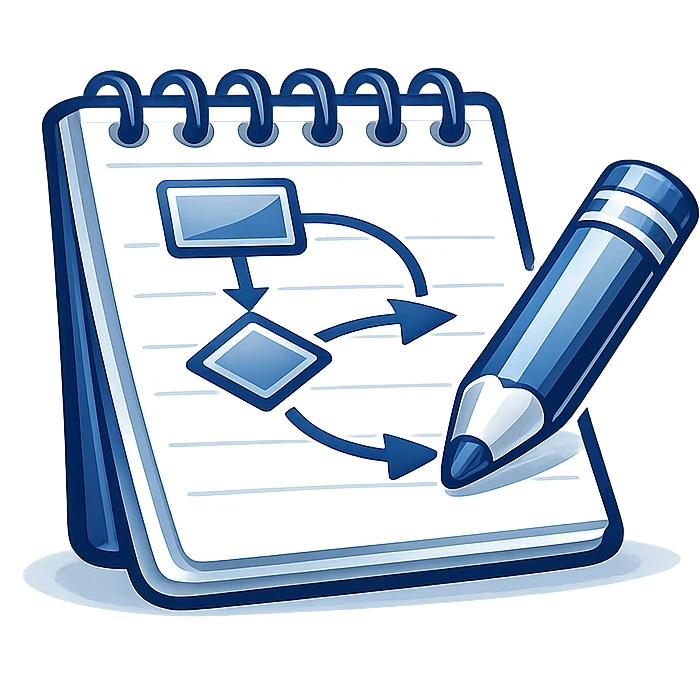
Understanding Flowchart Symbols
Before drawing, know your vocabulary. Standard flowchart symbols ensure universal readability.
Rectangle
Process / Action
"Validate user input"
Diamond
Decision
"Is payment valid?"
Rounded Rectangle
Start / End
"Begin checkout flow"
Parallelogram
Input / Output
"Read configuration file"
Cylinder
Database / Storage
"Query user table"
Arrow
Flow direction
"Proceeds to next step"
Step-by-Step: Creating a Flowchart
1. Define the Process Scope
Start by answering: what triggers this process, and what is the end state? For example: "User clicks 'Place Order' → Order confirmation email sent." Everything in between is your flowchart.
2. List the Steps
Write out each step in plain language before drawing anything. Identify which steps are actions (rectangles), which are decisions (diamonds), and where data is stored or retrieved (cylinders).
3. Draw Top-to-Bottom
Start with your trigger at the top. Flow downward. Branch left/right at decision points. Label every arrow — especially the "Yes" and "No" branches. This convention makes flowcharts universally readable.
4. Handle Edge Cases
The main path is easy. The value of a good flowchart is in the branches: What if payment fails? What if the user is not authenticated? What if the API times out? Each edge case gets its own decision diamond and handling path.
5. Review and Simplify
If your flowchart has more than 15-20 shapes, consider breaking it into sub-flows. Each sub-flow gets its own diagram. Link them with references. This keeps diagrams readable and maintainable.
Flowchart Best Practices
- One entry, one exit — Each flowchart should have a single starting point and ideally converge to a single end
- Label everything — Every arrow should have a label when leaving a decision diamond. Every shape should have a clear, verb-first label
- Use consistent direction — Primary flow goes top-to-bottom. Side branches go left-right. Never have arrows pointing upward unless it's an intentional loop
- Color sparingly — Use color to categorize (e.g., blue for happy path, red for error handling) but don't make color carry meaning that isn't also in text
- Keep it collaborative — The best flowcharts are built by the team that owns the process. Use a shared board so everyone contributes
Real-World Example: API Request Flow
Here's how I'd map a typical authenticated API request:
Client sends request → API Gateway
→ [Decision] Valid JWT? → No → Return 401
→ Yes → Rate limiter check
→ [Decision] Under limit? → No → Return 429
→ Yes → Route to service
→ Service processes request
→ [Decision] DB write? → Yes → Write to DB → Emit event
→ Return response → Client
This takes 2 minutes to diagram in SahajDraw — rectangles for actions, diamonds for decisions, arrows with labels. The same flow described in prose would take a full page of text.
 Drawn in SahajDraw
Create flowcharts in seconds with SahajDraw — shapes, connectors, labels, real-time collaboration.
Start Drawing Free